
You reach a corner in Pac-Man, push the stick up, and somehow keep going straight. A ghost catches you. The natural reaction is to blame the joystick—or your hands.
One possible culprit is a mismatch between the game and the control setup. A joystick can work electrically and still feel wrong for the game you are playing. That matters especially on a multicade or a tabletop build expected to run a whole library.
Four directions, or four directions plus diagonals?
A conventional 4-way joystick is intended to select up, down, left, or right. An 8-way joystick also allows the four diagonals. On a typical switch-based stick, a diagonal combines two neighboring direction signals: up plus right, for example. “Eight-way” does not mean there must be eight switches.
Pac-Man expects four-way control. MAME’s own documentation identifies diagonal input as a cause of unwanted behavior, including stopping at intersections. The exact experience on a multicade depends on its hardware and software, so this is a useful diagnostic clue rather than proof that every missed turn has the same cause. 1
| Setup | Directions | What to watch for |
|---|---|---|
| 4-way | Up, down, left, right | Clean transitions between the four directions. |
| 8-way | The same four, plus diagonals | Reliable diagonal input as well as straight movement. |
| Analog | A range of positions | Correct mapping when used for a digital arcade game. |
Choose the control around the game. More available directions are useful only when the game needs them.
The important part is under the panel
The ball or bat-shaped handle is what you notice first. The mechanism below it determines the movement. On many sticks, a restrictor physically limits the path the shaft can follow. Some models let you change between four-way and eight-way operation; others require different parts or use a different design.
Do not assume every square-looking gate has the same mode or adjustment. Ultimarc’s UltraStik accessory instructions, for example, describe a particular four/eight-way plate that changes mode by rotating 45 degrees. That is an instruction for that compatible assembly, not a universal repair trick. 2
Can software solve it?
Software can change how inputs are interpreted; it cannot change the physical path your hand feels. MAME’s joystick_map handles analog-to-digital direction mapping and normally chooses a map automatically. It is not a universal setting for every USB encoder or multicade board. Check the emulator, input type, and version before changing anything. 1
Some hardware is designed around programmable mapping. The UltraStik 360, for example, supports stored four-way and eight-way maps as well as optional mechanical restrictors. Mapping and physical restriction are separate choices even on the same product. 3
Check the symptom before replacing the stick
The following is a practical starting sequence, not a diagnosis of every cabinet. Make one change at a time so you can tell what helped.
- Write down where it happens. Is it one game, every game, one player, or one direction? “Player one misses up-left in two games” is more useful than “the controls are bad.”
- Use an input test if your system provides one. Follow the machine or emulator documentation. From the normal playing position, check the four directions individually, then the diagonals if that game supports them. Release the stick between attempts and watch whether the input clears.
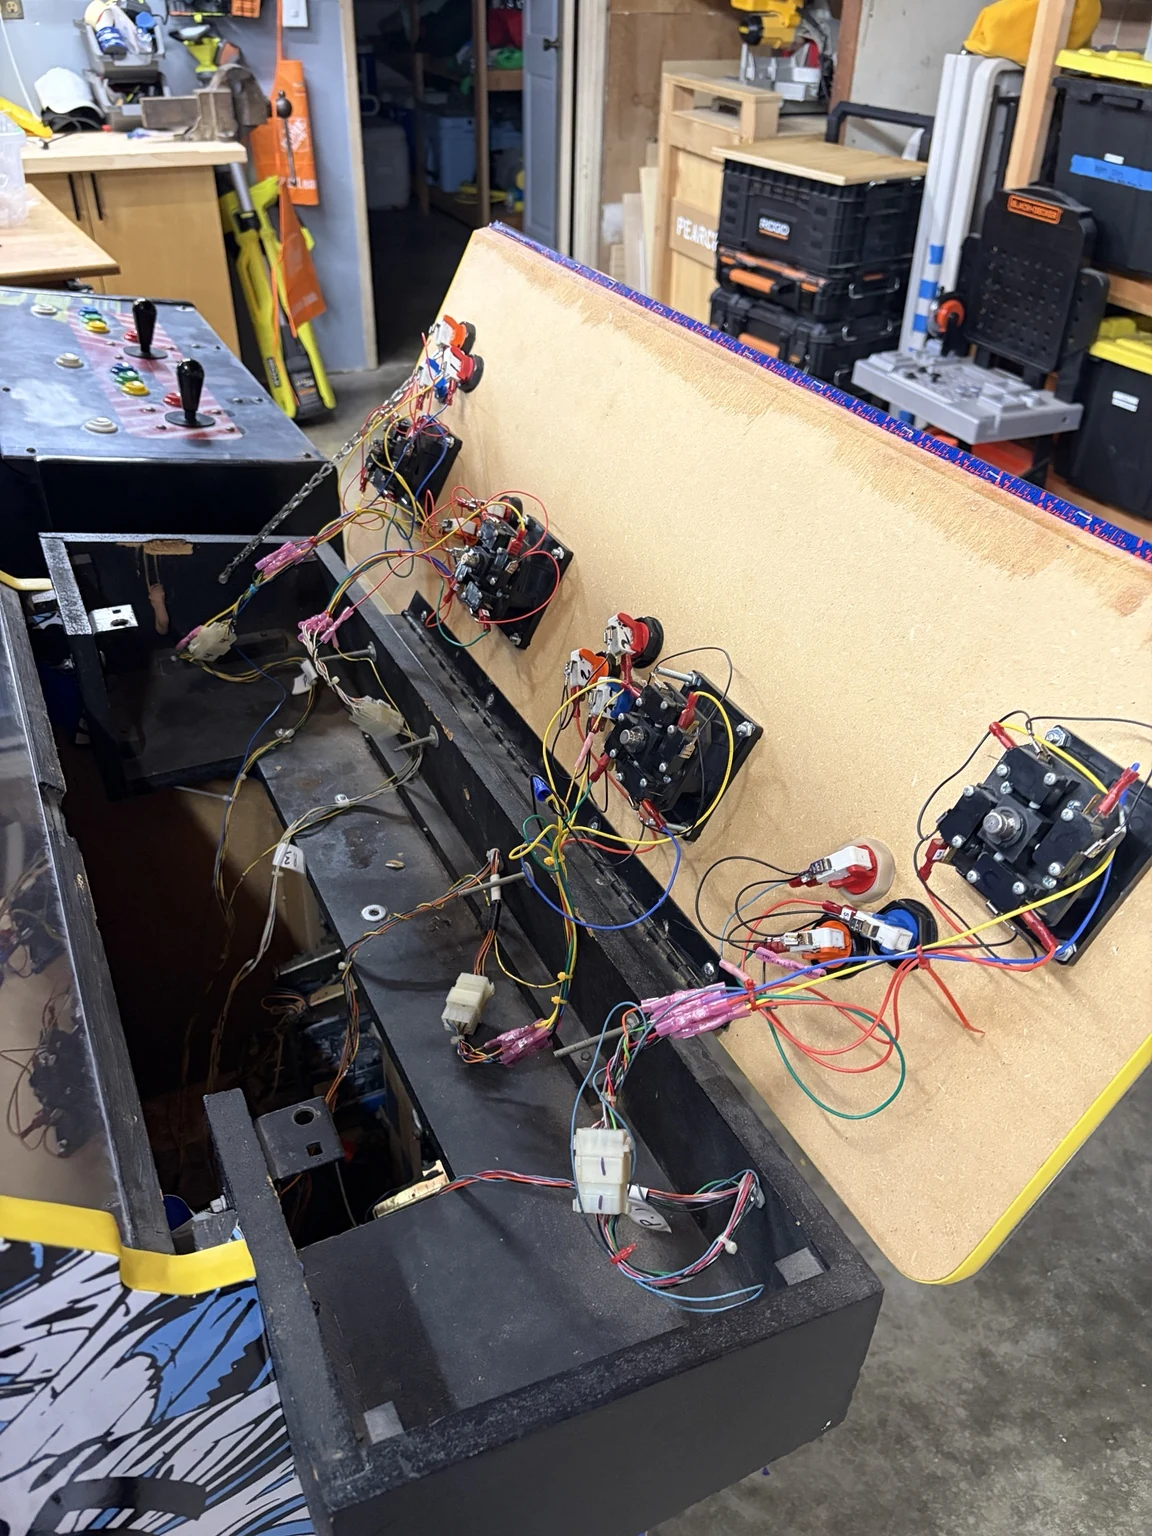
- Identify the hardware. Before opening the panel, switch off and unplug the cabinet. Photograph the assembly, its labels, and the existing connections. Do not reach into the monitor or power-supply area; unplugging does not make a CRT safe to handle.
- Check the documented mode. If the joystick supports switching, follow its manufacturer’s instructions. Avoid forcing a gate or copying an adjustment meant for another model.
- Repeat the same test. Compare the same game, player position, and movement after the change. Keep your original configuration notes so you can reverse a software adjustment.
Pick a setup for the games you actually play
For an original cabinet, start with the correct control specification for that game. Keeping the original assembly—or repairing it with compatible parts—also avoids creating a second problem while chasing the first.
For a tabletop or multicade, make a short list of your favorite games before choosing controls. If the list mixes four-way and eight-way games, decide how you want to handle the change:
- Manual switching: use a compatible adjustable stick and make switching part of choosing a game. Some mechanisms require access below the panel.
- Switching from above: Ultimarc’s Mag-Stik Plus is an example that changes modes from the top of the control panel. Follow its specific operating instructions. 4
- Powered switching: the ServoStik moves its restrictor with a motor and requires its controller. Plan the control system and integration as well as the joystick itself. 5
These are examples of different approaches, not products tested for this article. Before ordering, check mounting holes, panel thickness, shaft height, space underneath, and electrical compatibility. A promising joystick still has to fit your particular machine.
When a game feels wrong, start by learning what the controls are telling it. You may need a repair, an adjustment, or a different control type. A few deliberate tests can make that choice much clearer—and get you back to playing.
Keep playing the classics.
Sources & photo notes
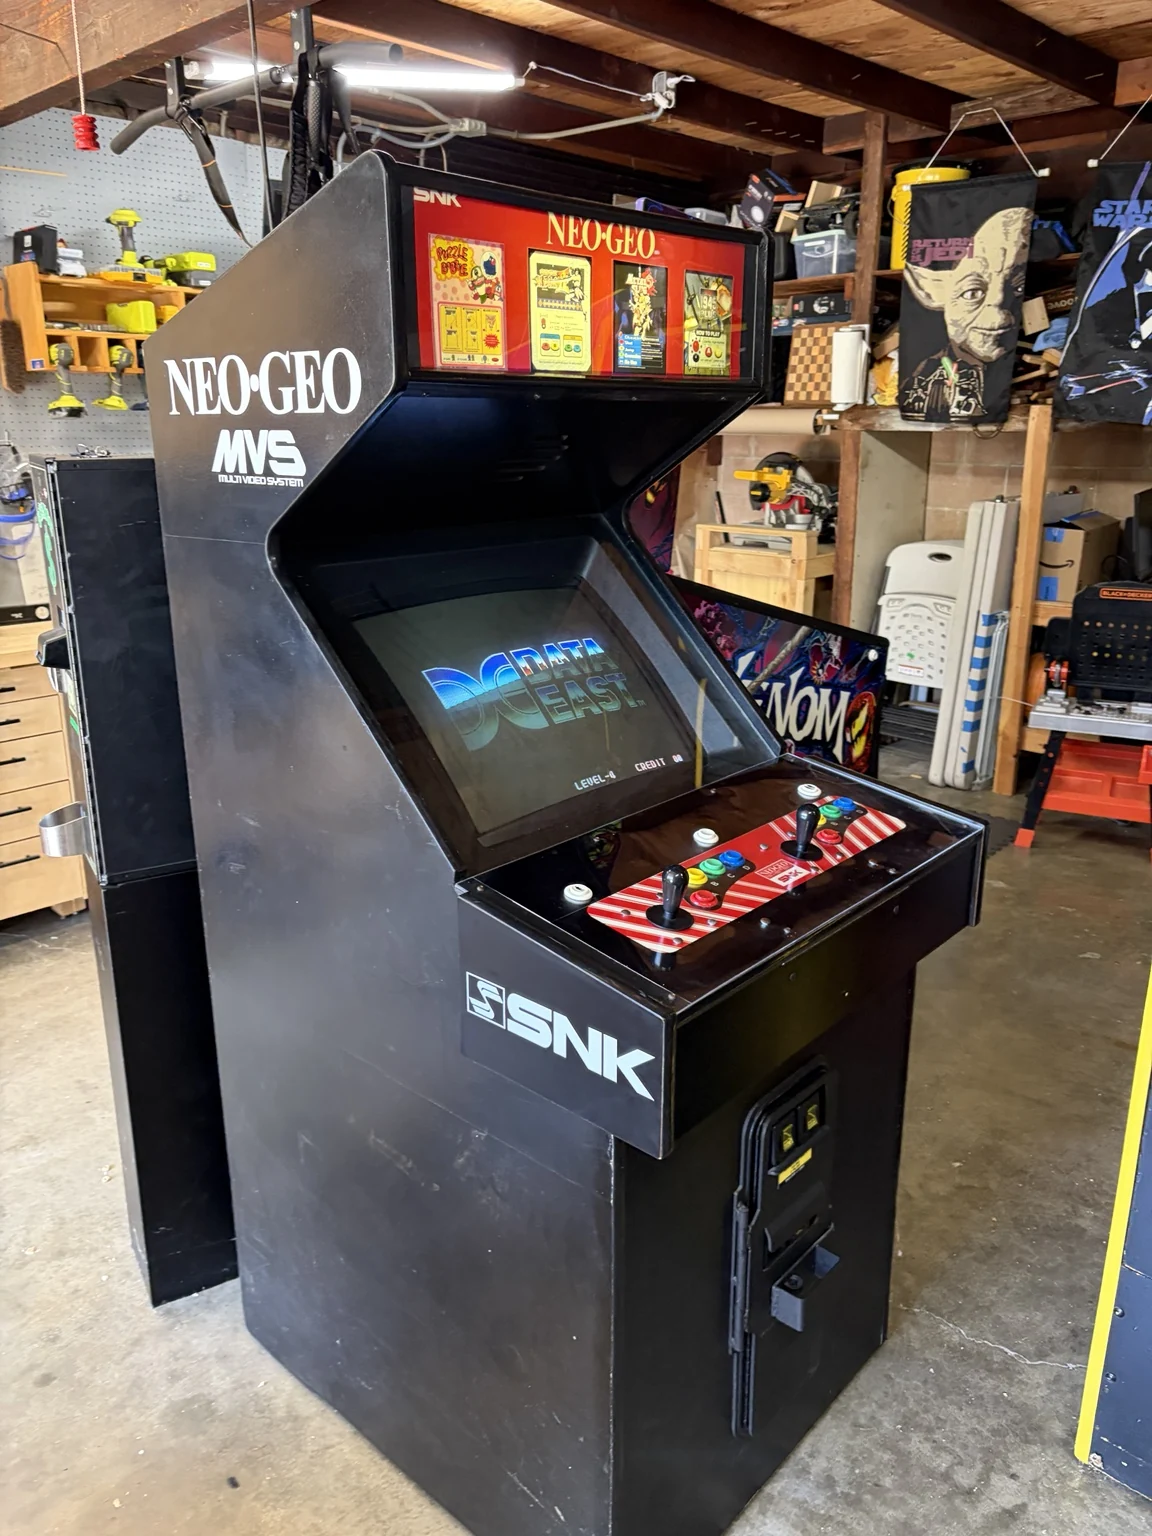
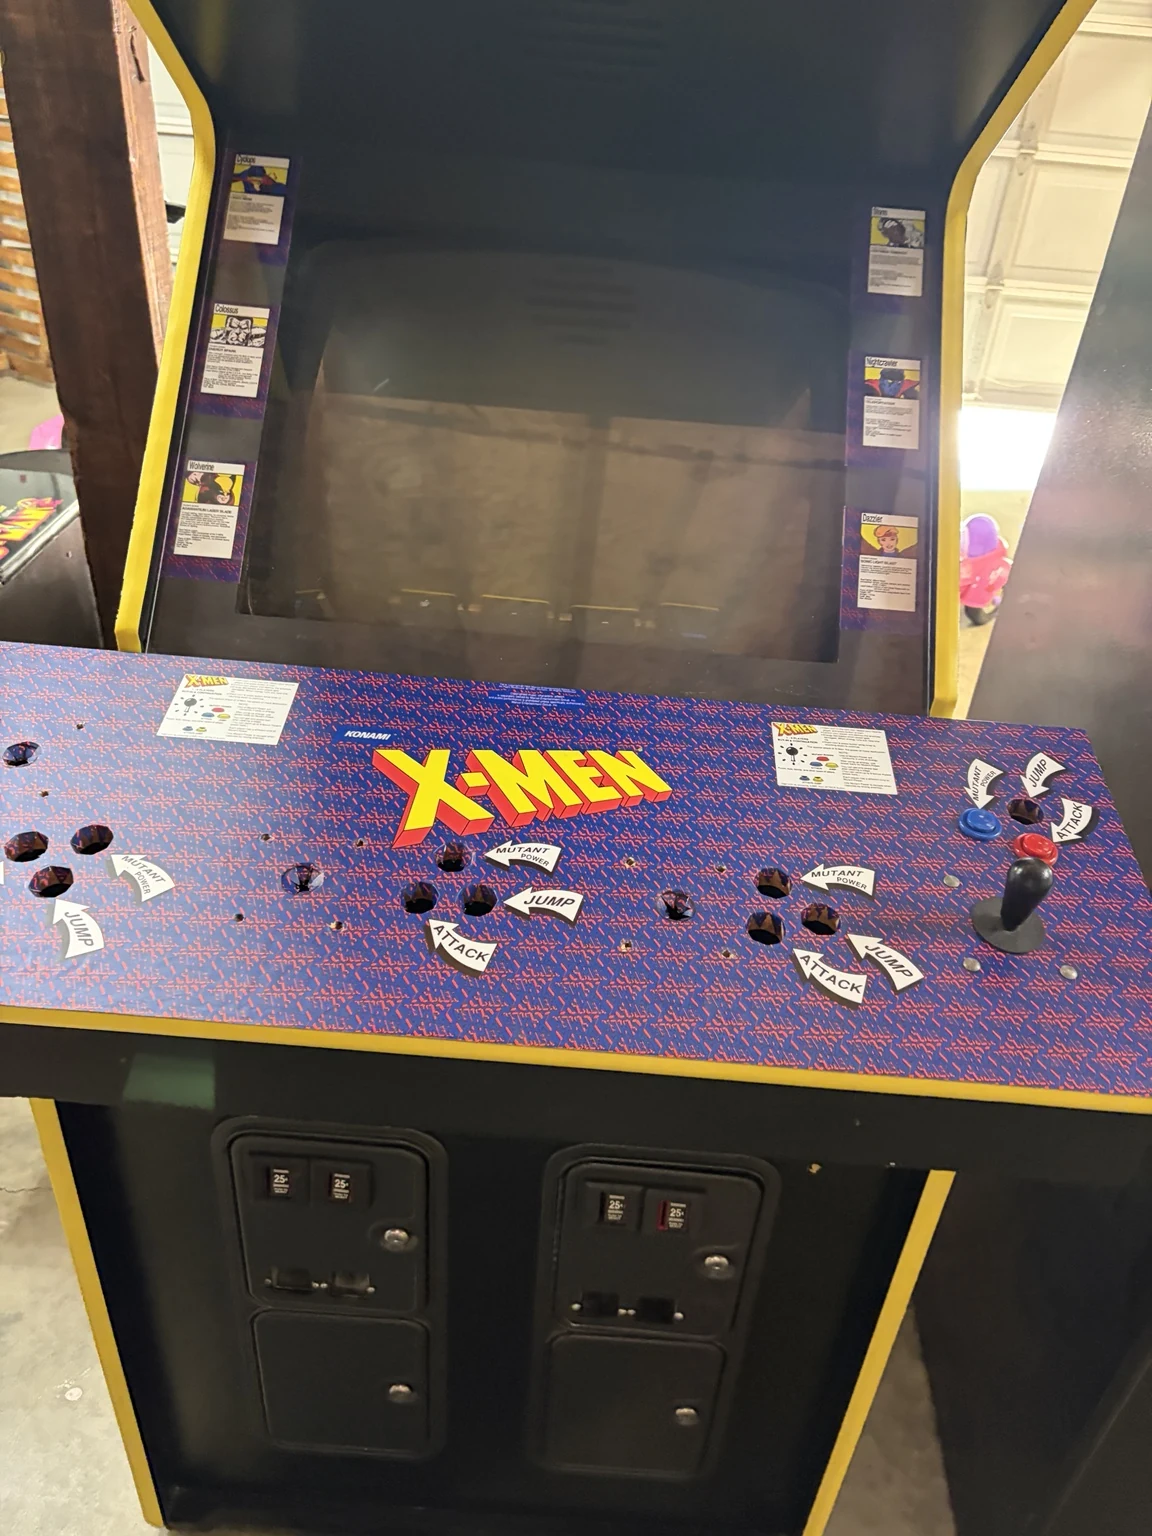
Technical references checked October 2, 2026. Photos are Matt Pearce’s own Neo Geo and X-Men machines; they illustrate cabinet controls and access, not a Pac-Man restoration.
- MAME documentation: core input options and joystick mapping — four-way Pac-Man behavior and analog input mapping.
- Ultimarc: UltraStik Restrictor Plate Kit — model-specific mechanical restriction and adjustment.
- Ultimarc: UltraStik 360 — programmable maps, direction outputs, and optional restrictors.
- Ultimarc: Mag-Stik Plus — switching from above the panel.
- Ultimarc: ServoStik — powered restrictor switching and controller requirements.