
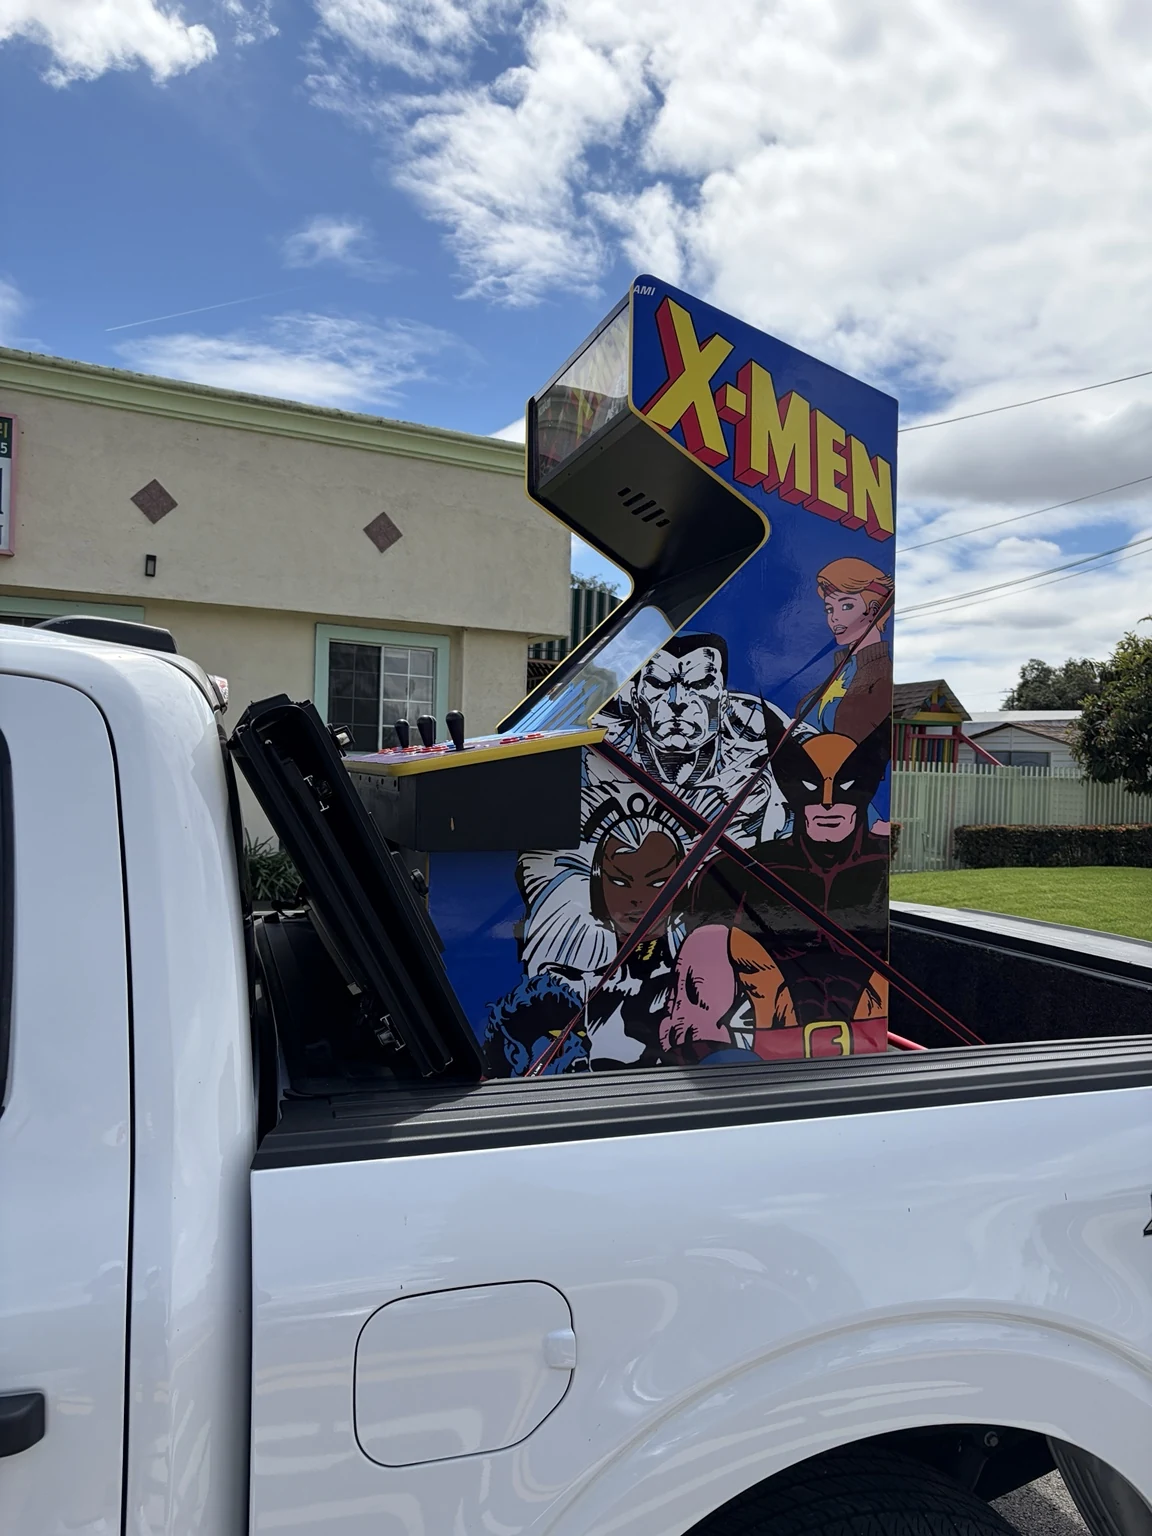
Congratulations. You now own a video game, a piece of furniture, and a very specific reason to borrow a truck.
My X-Men cabinet looked great when I bought it. Fresh side art. New T-molding. Inside? The sound didn’t work, the wiring needed attention, and the control-panel artwork needed protection.
Here’s how I’d approach a first arcade machine: a little less impulse shopping, a little more figuring out what actually needs fixing.
01 / GET IT HOMEThe doorway is the first boss.
Measure the cabinet’s widest point—including the control panel—plus its height and depth. Then measure the whole route: door openings, tight turns, steps, and the vehicle opening. “It should fit” is a bold thing to say while holding one end of an arcade machine.
Plan the move with enough help and equipment rated for the load. Follow the cabinet’s transport instructions, protect the artwork and glass, and secure it properly in the vehicle. Cabinets can be top-heavy; the joystick is not a carrying handle.[1]
At home, choose a dry, stable spot with room to play and the ventilation clearance specified in the manual.
02 / KNOW YOUR CABINETRead more than the marquee.
A cabinet may have lived several lives. The name above the screen doesn’t necessarily tell you who built the cabinet—or what board is inside. Record the cabinet label and game-board identification when safely visible, and find the matching manuals. Leave inaccessible labels for a technician.
Take photos before changing anything: the cabinet, damage, labels, and accessible wiring. Future you will appreciate having something better than “I think the blue wire went over there.”
- 1MarqueeThe title panel at the top.
- 2Screen + bezelThe display and its surrounding frame or artwork.
- 3Control panelJoysticks, buttons, and the panel beneath them.
- 4Coin doorAccess to coin mechanisms; cash-box access varies.
- 5T-moldingThe protective trim along the cabinet edges.
03 / BEFORE POWER-UPDon’t press “start” just yet.
Keep it unplugged while checking for transport damage, a damaged cord or plug, moisture, unstable cabinet parts, and visibly loose or damaged wiring. Don’t reach into unfamiliar electronics to investigate. If anything is damaged—or you’re unsure about its electrical condition—get it checked before applying power.
Check first.
Play second.
Use your game’s manual for its inspection and startup procedure. A good-looking cabinet can still hide a fault.
If the checks are complete and the cabinet is ready, reinstall its covers and keep hands outside during the first test.
Smoke, a burning smell, unusual crackling, or repeated resets mean the test is over. Shut down and disconnect power if safe; don’t keep cycling it to see whether the problem goes away.
04 / CLEAN CAREFULLYSave the artwork. Lose the grime.
With the machine unplugged, start with a soft, dry cloth on exterior surfaces. Before using a cleaner, identify the material and check its care instructions. Old decals, painted artwork, glass, and acrylic don’t all want the same treatment.
Test any suitable cleaner in an inconspicuous spot, apply it to the cloth, and keep liquid out of seams and electronics. Skip the aggressive scrubbing until you know what finish you’re dealing with. The goal is removing dirt, not thirty years of character.
05 / TEST EVERYTHINGOne working button isn’t a review.
Once the machine is cleared for operation, check every player position. Use the game’s input and sound tests if its manual provides them. Photograph the current settings before changing pricing, difficulty, or anything else.
“No sound” is a symptom, not a shopping list. My X-Men needed sound work, but that doesn’t mean every silent cabinet needs the same repair.
06 / MAKE A REPAIR LISTA little cabinet meeting.
Split the list into safe to operate, works properly, and looks better—in that order. Set a budget for the next repair, including shipping and any specialist work. Keep the original parts and a simple record of what changed.
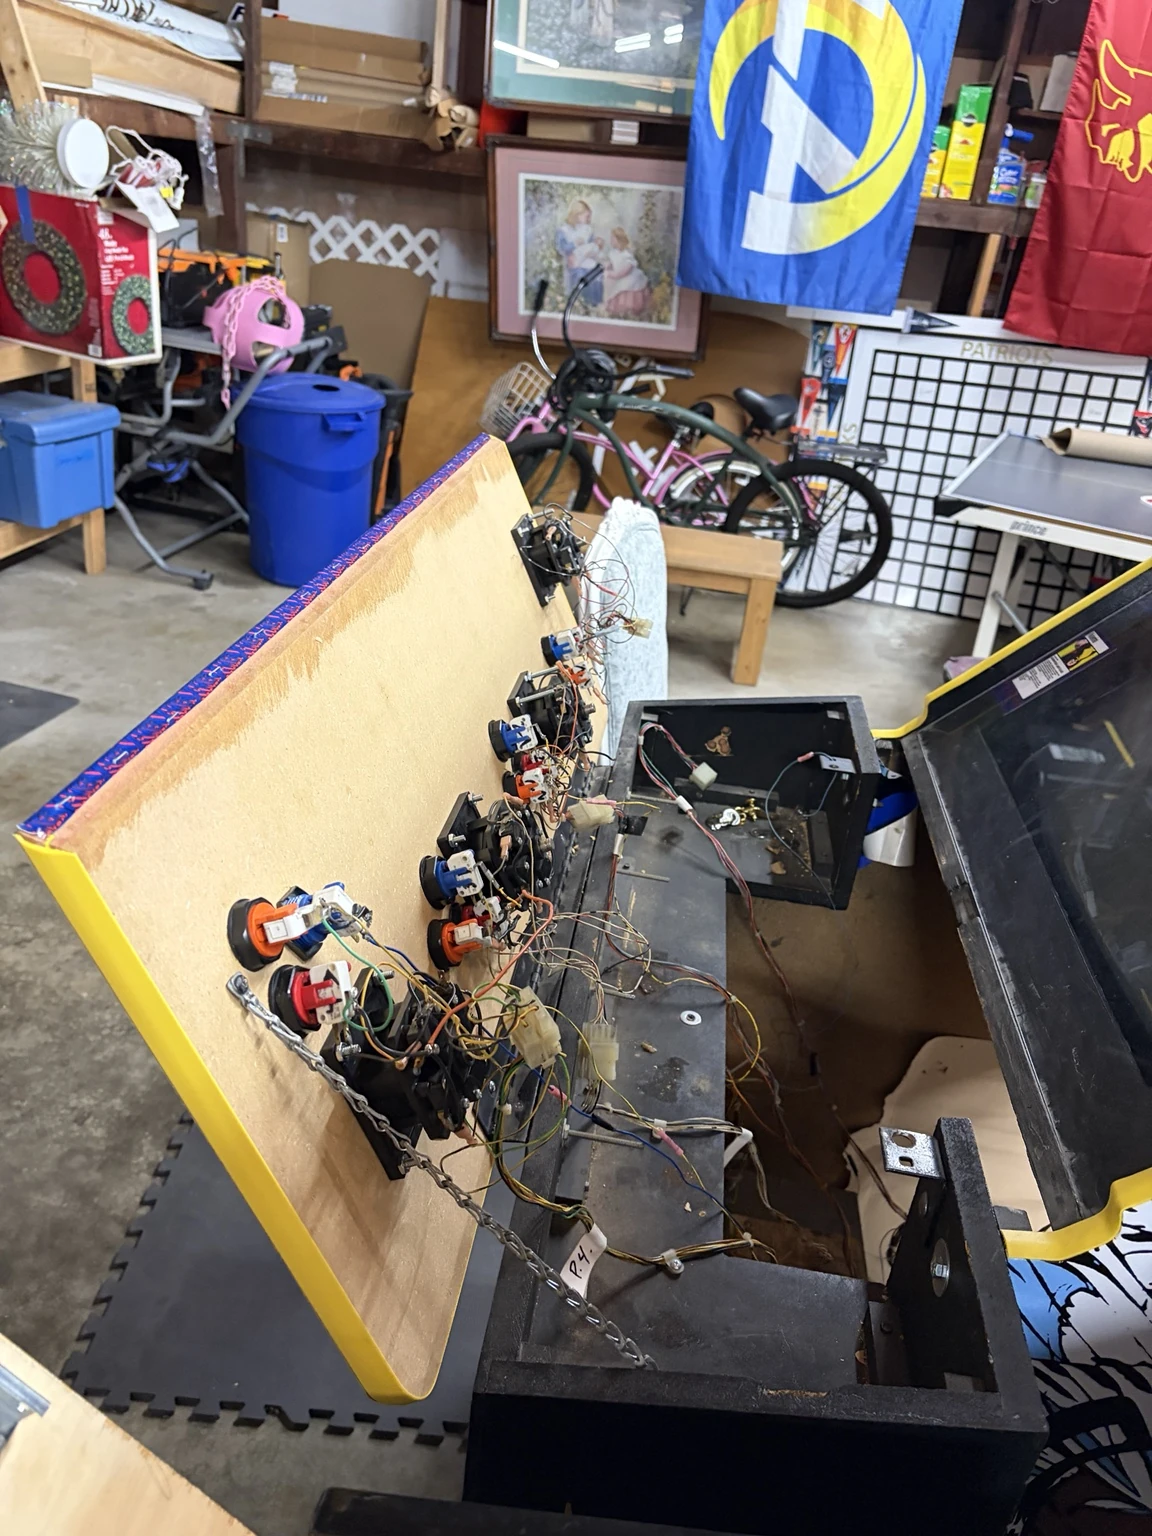
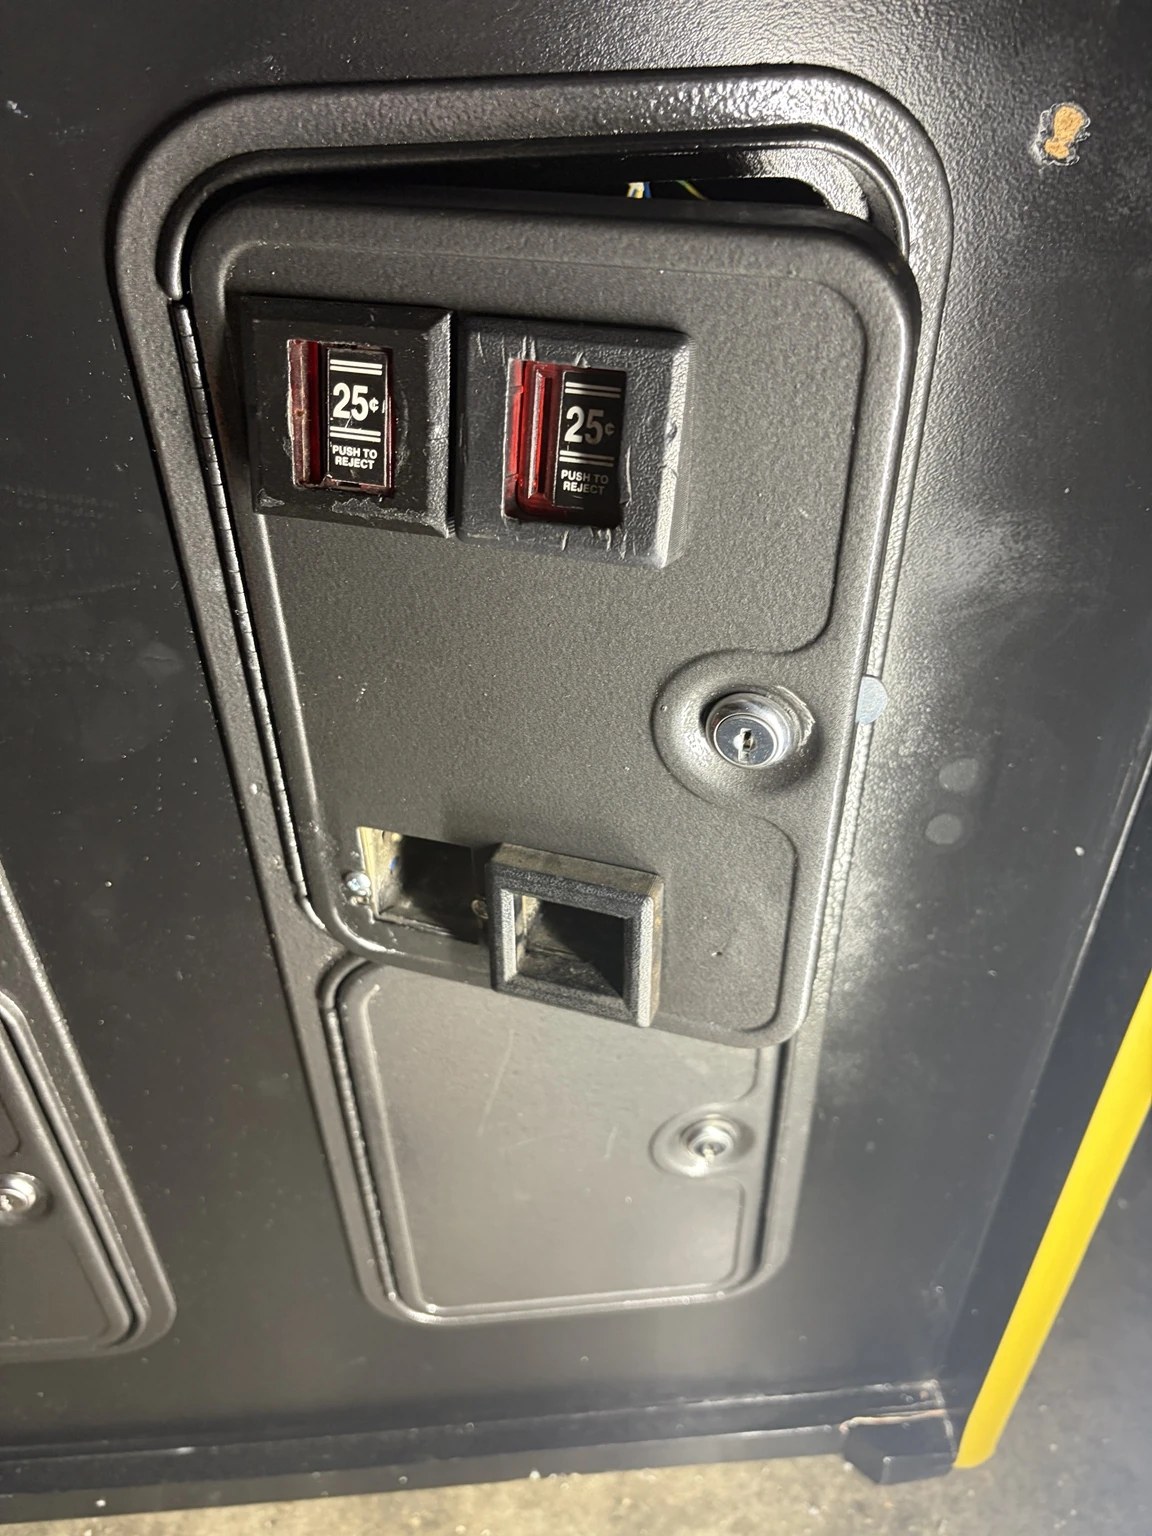
On my X-Men, I replaced the coin doors, made an acrylic cover, and rewired the machine. Looking back, I’d price a suitable new harness before committing to that wiring job.
But “JAMMA” isn’t a promise that every connection is interchangeable. Check the exact board and cabinet requirements. X-Men’s four-player manual, for example, shows separate harness connections for players three and four.[2]
Fix one thing. Test it. Write it down.
Then move to the next thing.
That way, if something changes, you have a fighting chance of knowing why. A full teardown can turn a small project into a quarter-life crisis.
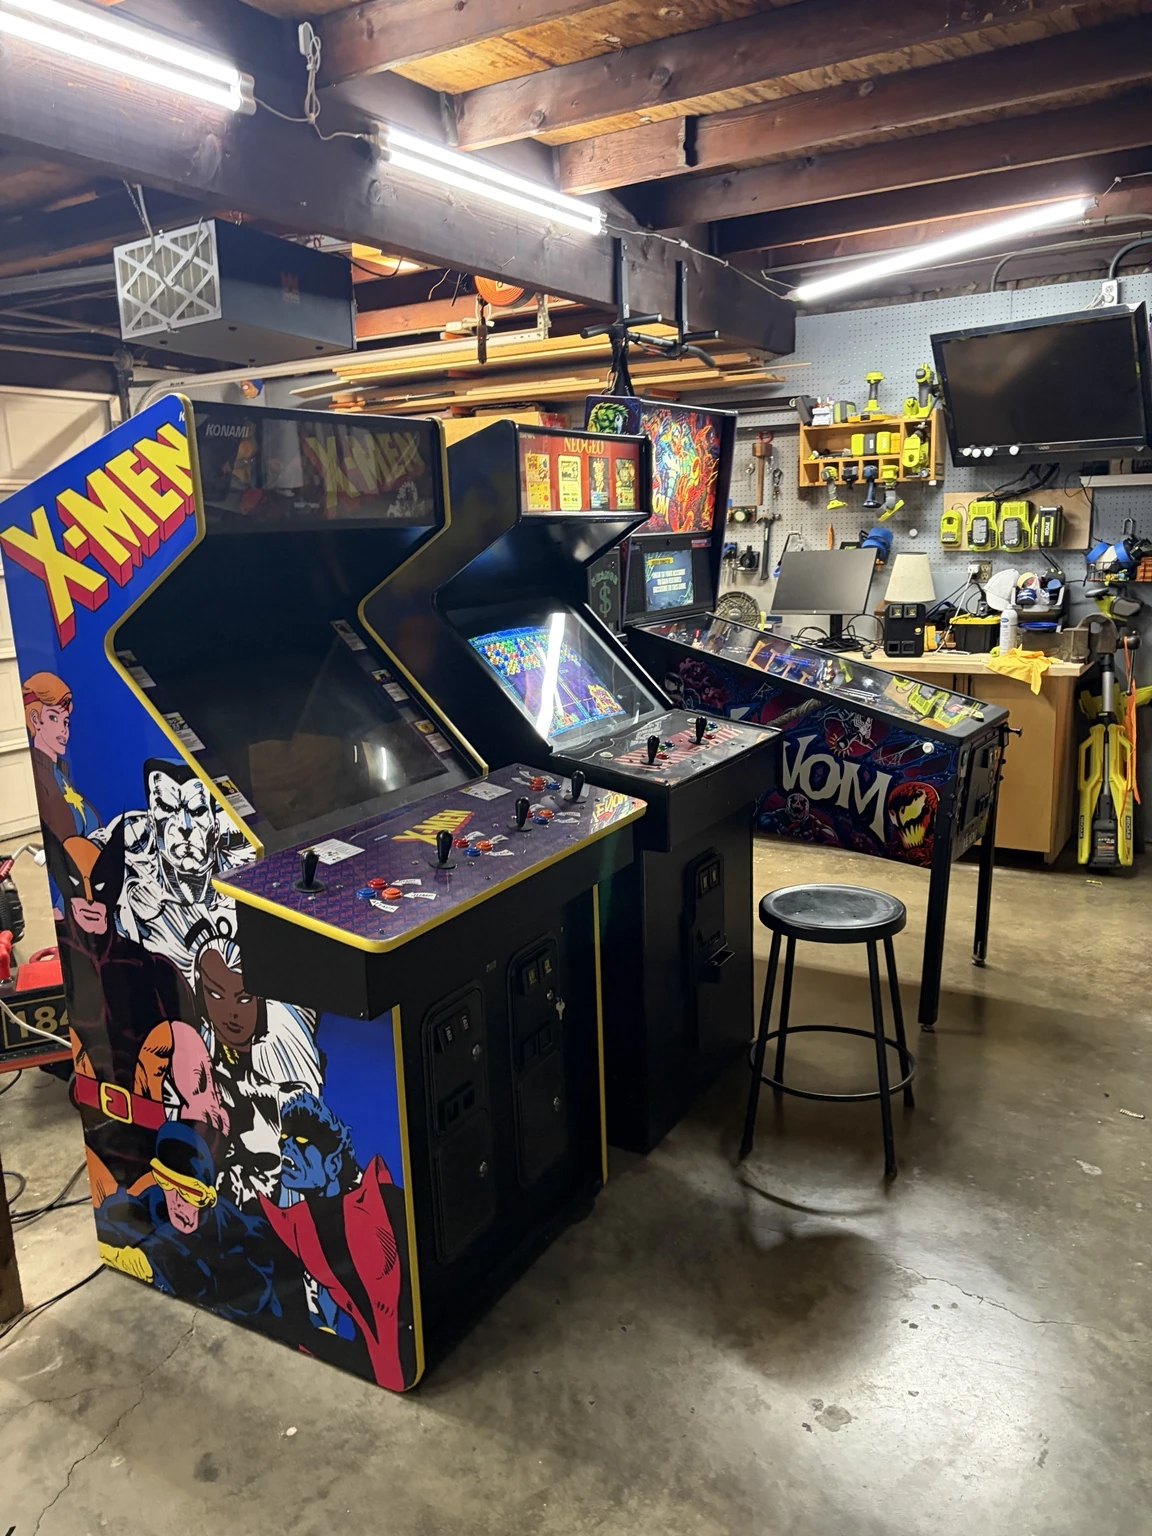
And when it’s ready, play it. You bought an arcade machine. You’re allowed to enjoy it before every scratch is gone.
Keep playing the good stuff.
Manuals & photo credits
- Raw Thrills: operator manual, Safety Information — transport, grounding, stored voltage, and ventilation. Consult the manual for your own machine; this reference does not identify the components in a vintage cabinet.
- Konami: X-Men 4 Player Instruction Manual, printed page 4 — player-three and player-four sub-harness connections. Manufacturer manual hosted by the Arcade Archive.
- Wells-Gardner: K7000 service manual, page 3 — high-voltage and CRT-handling warnings. A technical reference for qualified servicing, not a beginner repair guide.
Photos: Matt Pearce’s X-Men build and garage collection. Diagrams: Classic Coinworks.