
From the garage · Cabinet details
Arcade T-Molding: The Small Detail That Changes the Whole Cabinet
Fresh red trim pulled my black Neo Geo together. Here is what to check before giving your own cabinet a new outline.
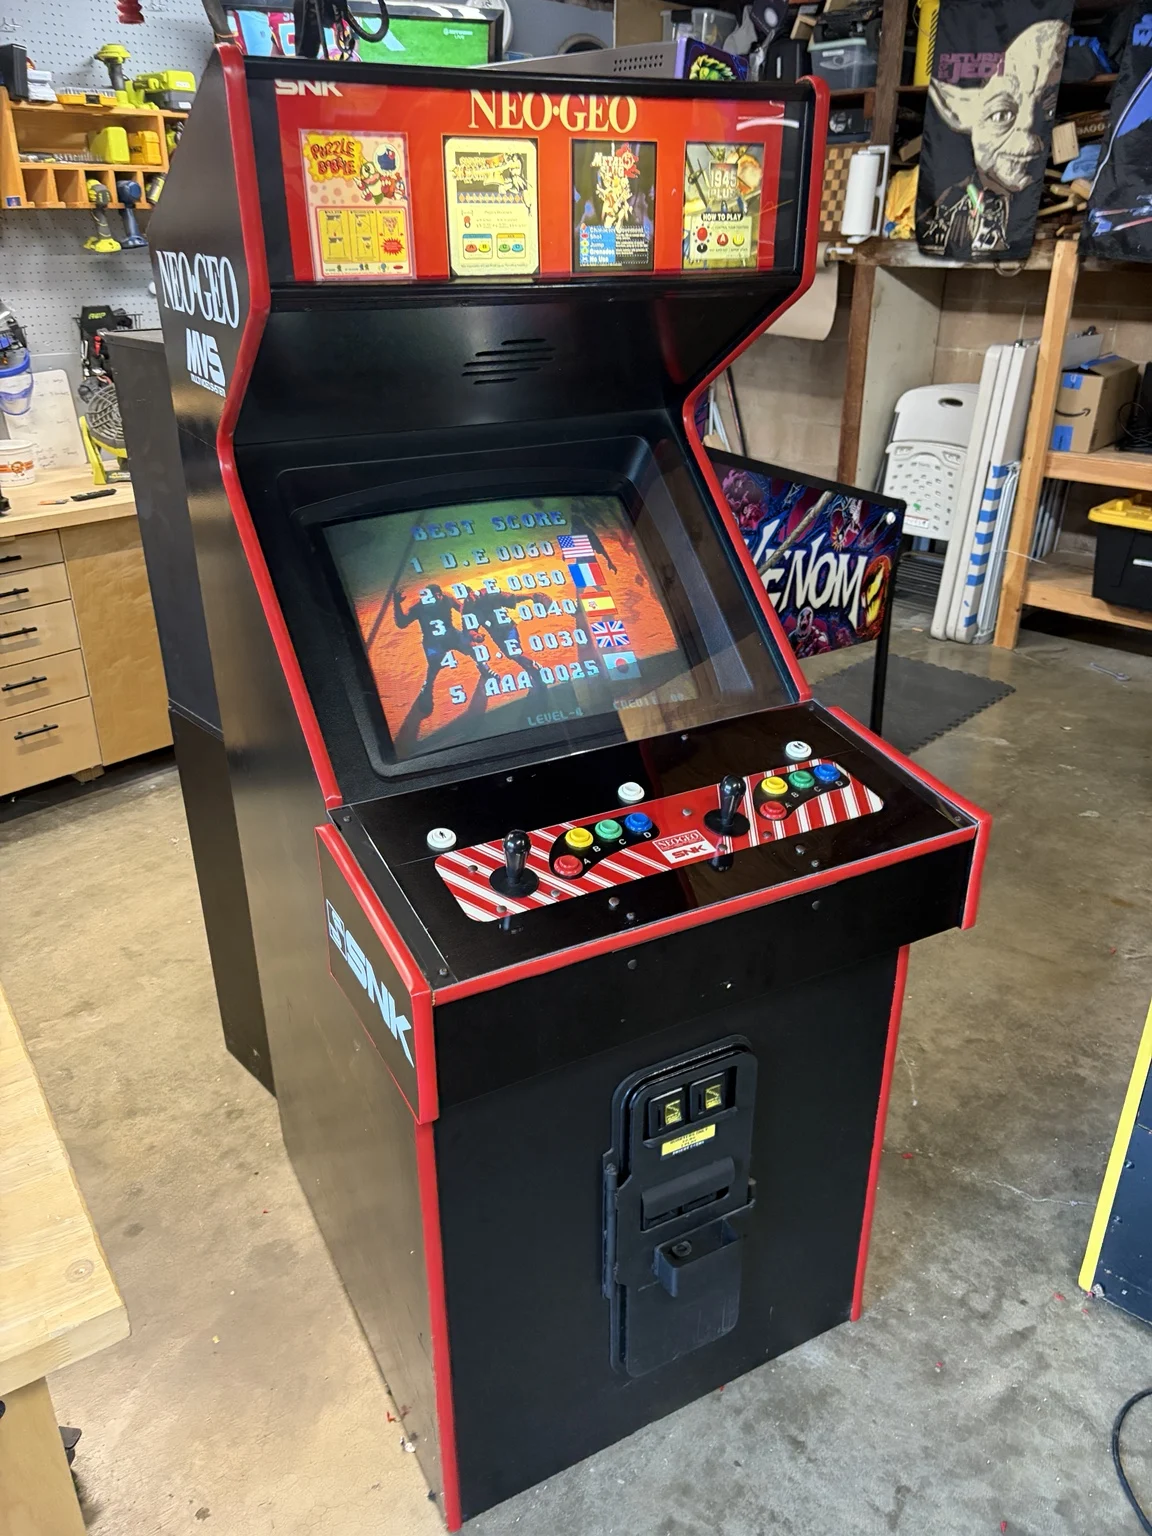
You can spend an entire evening fixing something inside an arcade cabinet and have almost nothing to show in a photo. Then you replace a strip of plastic around the edge, and suddenly the whole machine looks sharper.
That was the appeal of putting new red T-molding on my black Neo Geo. The red follows the cabinet’s profile, frames the controls, and connects the edges to the marquee. It gives all that black a little definition.
It did not unlock a secret Metal Slug level. It did make me want to stand back and look at the cabinet again, which is a pretty good result for edge trim.
If your machine has cracked, missing, or mismatched molding, this is a detail worth checking. If the original trim is sound and suits the cabinet, keeping it is a perfectly good choice too.
What is arcade T-molding?
It is the trim that covers a cabinet panel’s exposed edge. Viewed from the end, the profile resembles a T: the broad face covers the edge, while a barbed stem fits into a narrow groove in the panel. That groove is often called the kerf. The trim provides a finished edge and some protection from everyday knocks. [1]
The important distinction is between the width you see and the fit you do not. A strip can look like the right color and width while having the wrong stem for the slot.
Measure the cabinet, not the game name
A listing that says “arcade T-molding” is a starting point. It is not a fit guarantee, especially on a converted or repaired cabinet.
T-Molding.com identifies 3/4 inch as a common arcade width, but also lists narrower cabinet requirements. Its advice is to measure before ordering. Record these three things: [2]
- Finished edge width: measure the edge the trim needs to cover, including any surface layers that reach it.
- Slot and profile: match the product’s specified slot width and stem arrangement to the cabinet. The supplier warns against sizing a new slot to the full width of the barbed stem; the barbs need material to grip.
- Actual run length: follow every edge you intend to cover, including curves and any return around the back. Measure the control panel separately.
Order some spare length for practice cuts and mistakes. “Exactly enough” becomes a much less satisfying number after one bad cut.
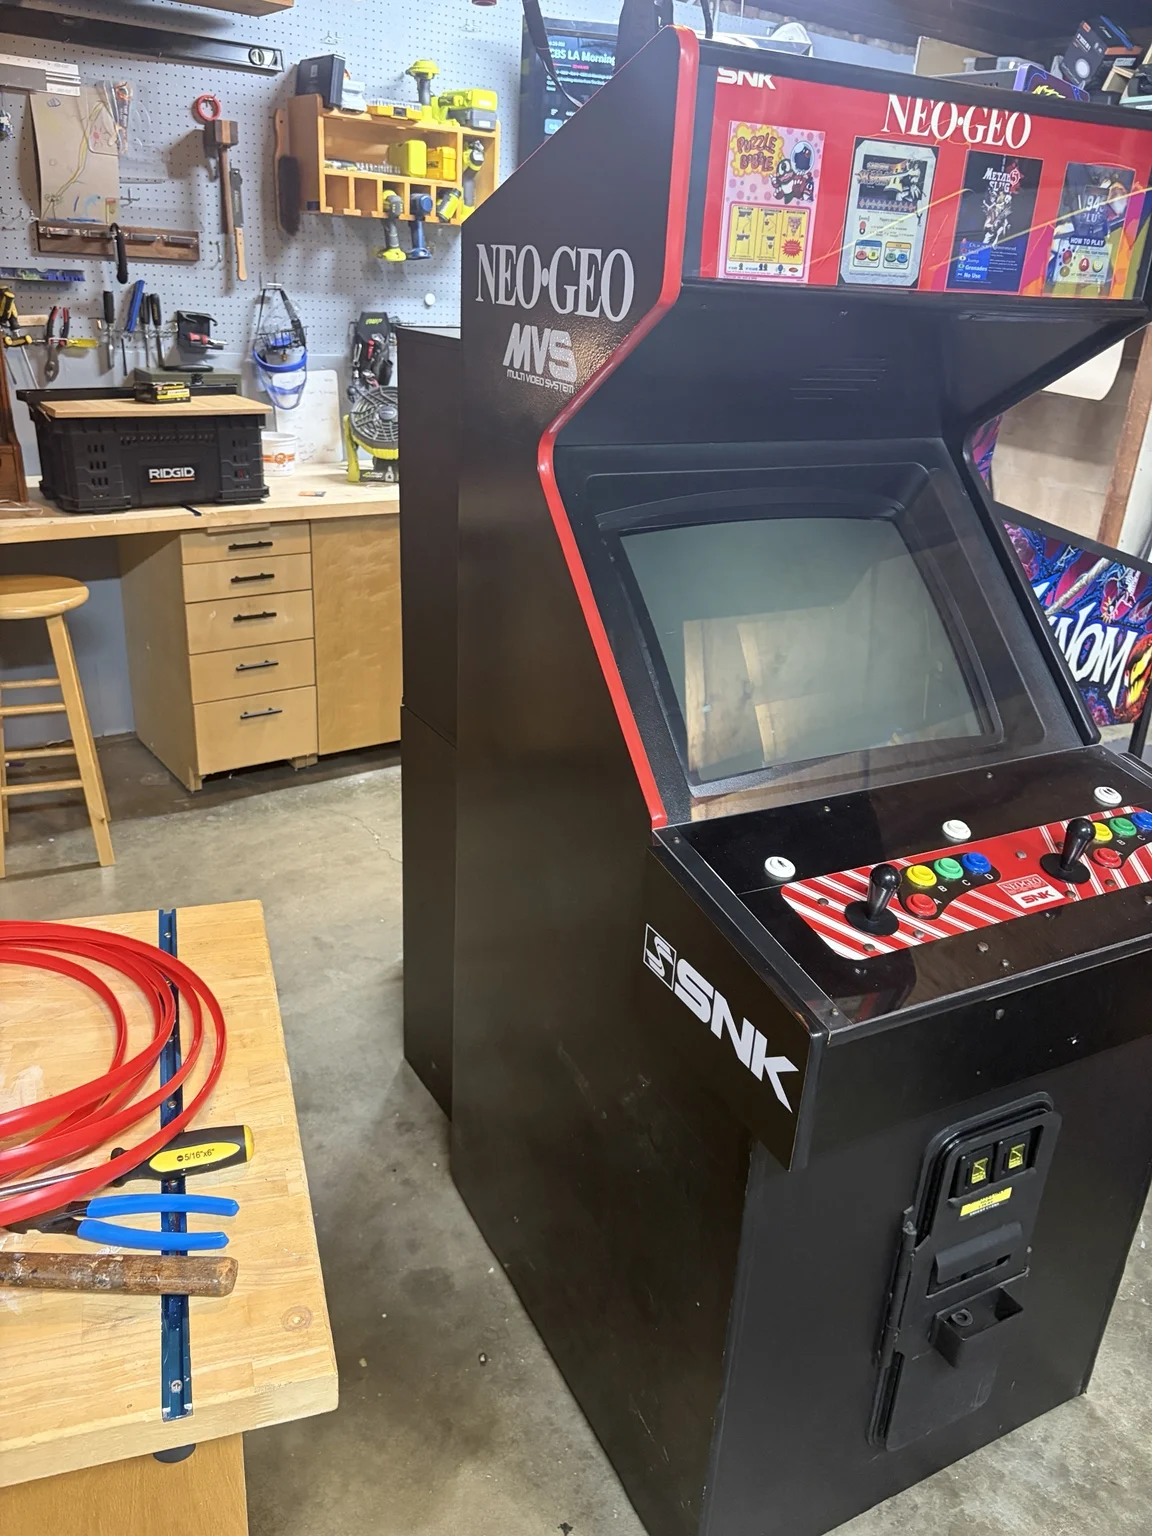
The corner is where the easy part ends
A long straight edge makes this job look simple. The turns around the marquee and control panel are where careful fitting matters.
Outwater’s installation guide explains that removing a small portion of the hidden barb allows molding to negotiate tight curves and corners. That is a relief cut in the stem, not a cut through the visible face. The shape and amount removed depend on the profile and bend. Follow the supplier’s instructions and practice on spare material first. [1]
A rubber mallet is sold specifically for seating T-molding. Use controlled, gentle taps with a clean face, checking alignment as you go. If the trim refuses to seat, stop and inspect the fit instead of turning the job into a strength test. [3]
A sensible replacement sequence
- Photograph the existing trim. Record its route, joints, and how it finishes around the panel.
- Remove a short section carefully. Check whether the old trim is glued and whether the panel edge is coming apart with it. Do not keep pulling if the wood starts breaking away.
- Inspect the edge before covering it. Loose debris, damaged material, or old adhesive can interfere with a clean fit. Repair a failing edge before installing new trim.
- Check a short test fit. Confirm coverage and grip before committing to the whole run.
- Work progressively around the cabinet. Check each turn, then trim the final end once the run is seated correctly.
This is a replacement checklist for an existing slotted edge. Cutting a new slot or rebuilding a damaged panel is a separate woodworking job.
What if it keeps popping out?
Check for a mismatched stem or an enlarged slot before reaching for glue. T-Molding.com describes remedies for loose slots, but adhesive does not correct the wrong profile or rebuild a crumbling edge. Diagnose the fit first. [2]
Choose a color that belongs on the machine
For my Neo Geo, red makes sense because it is already prominent in the artwork. On my X-Men, yellow trim outlines the blue cabinet and echoes the lettering. Those are two different looks with the same idea: repeat a color the cabinet already gives you.
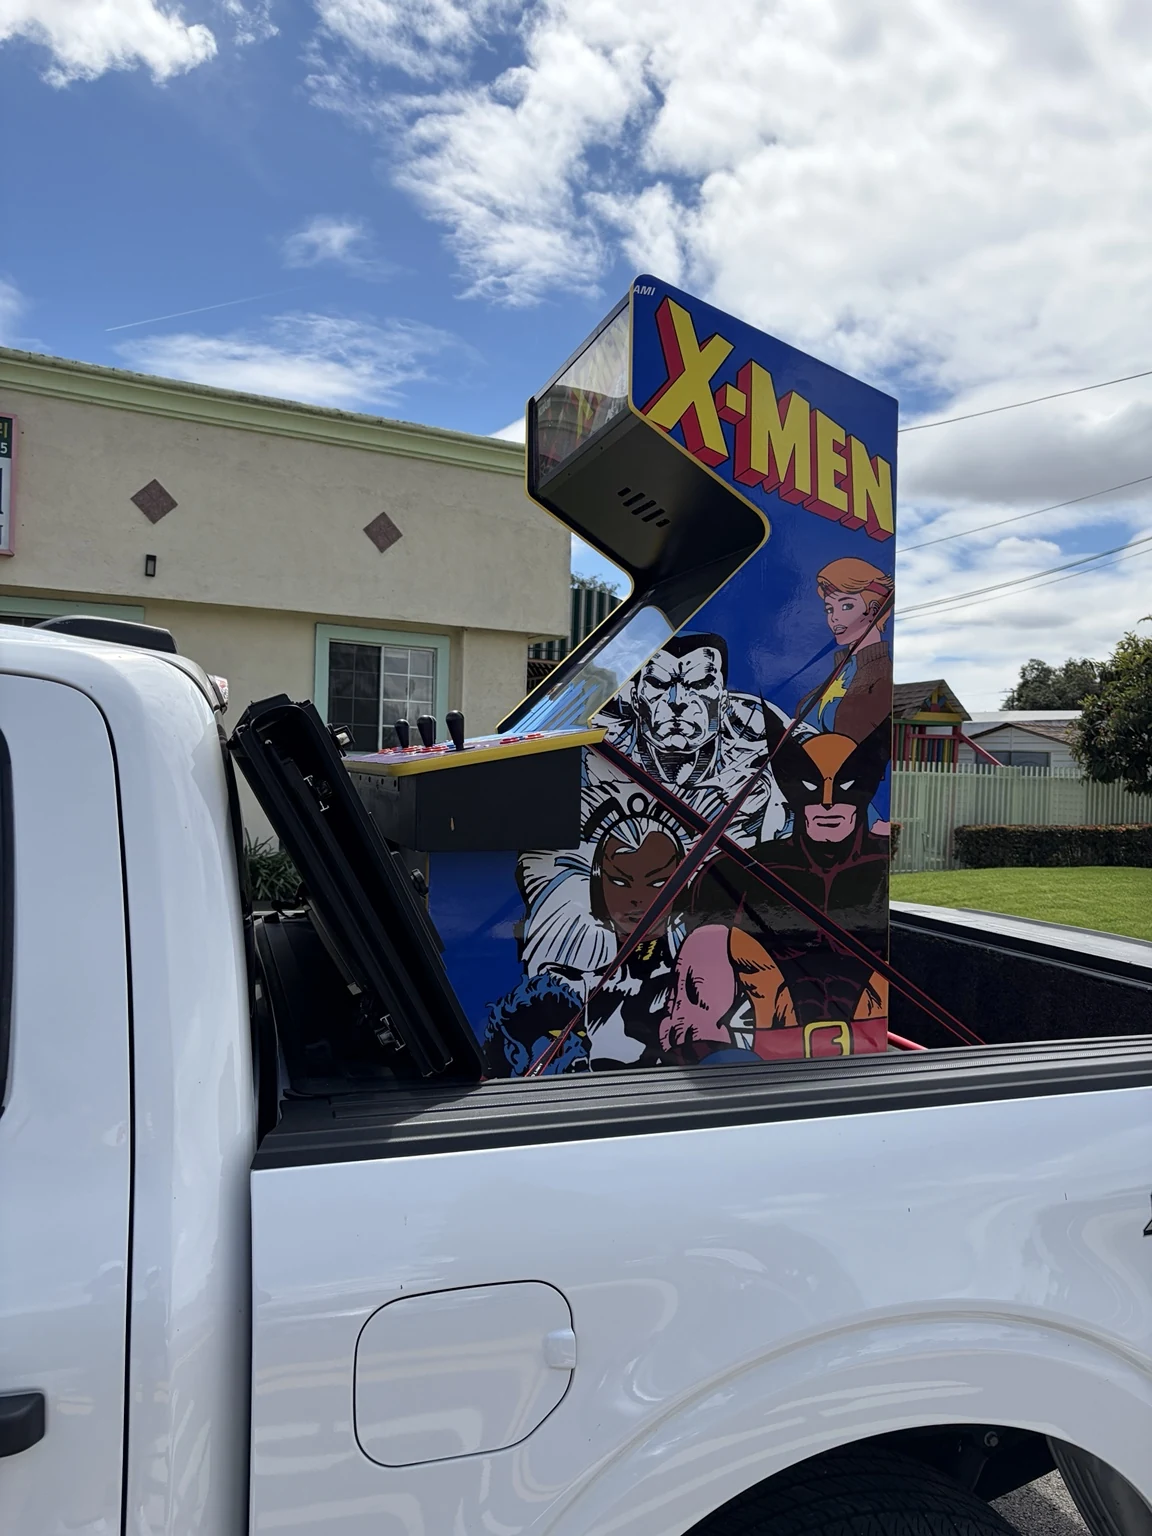
For a restoration, compare the color and profile with reliable references for that cabinet. For a personal build, hold a sample against the artwork and look at the whole machine before ordering a roll. A color that looks good on a shopping page may be much louder across six feet of cabinet.
Fresh trim also has its limits. My X-Men looked good when it arrived and still needed work inside. New edging cannot tell you anything about the monitor, wiring, or sound. Those deserve their own inspection.
On the Neo Geo, the red trim was a finishing touch I could see every time I walked into the garage. Sometimes that is enough reason to tackle the next small job.
Keep playing the good stuff.
Sources and photo notes
- Outwater: Pro Tips for Installing T-Molding. Profile, barb fit, and relief cuts for corners.
- T-Molding.com: General FAQ. Cabinet measurements, recommended slot widths, and loose-slot considerations.
- T-Molding.com: Installation mallet. Supplier guidance on the tool used to seat molding.
Sources checked October 6, 2026. All photos by Matt Pearce / Classic Coinworks. The Neo Geo update is documented in our existing owner story; the general fitting guidance draws on the supplier references above. No exact trim size or brand is inferred from the photos.